What to do when the system hard drive is not recognized in BIOS?
Desktop system is built by software & hardware. The software includes operating system, drivers and applications. The hardware system includes power supply, storage, memory, motherboard, graphics card …etc. All of OS, drivers and utilities most be installed in storage. It means if the desktop can't find any SSD or HDD, system can’t boot up to Windows desktop. What should we do if the storage is missing?
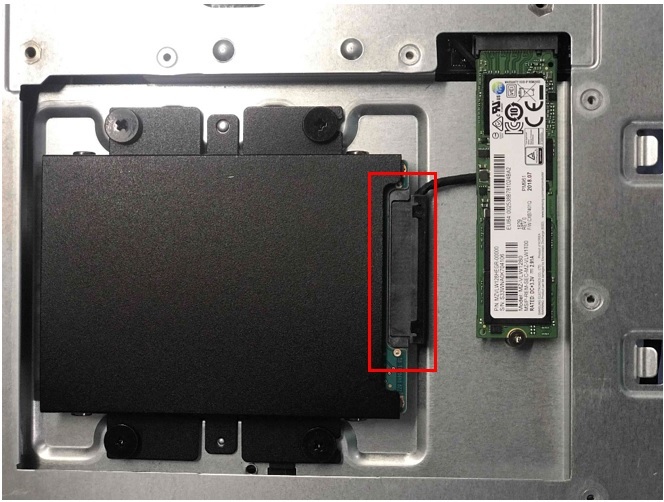
Storage device information
● HDD Type
○ There are two types HDD in free market:
➣ 3.5 inch HDD.
➣ 2.5 inch HDD. [mechanical Hard Disk (HDD) and solid-state disk (SSD)].
○ M.2 SSD
➣ NVME M.2
➣ SATA M.2
● What is the difference between traditional HDD and SSD?
○ Read/Write Speed
The read speed of common SSD could over 400M/s and the write speed could over 130M/s. SSD has more 3~5 times speed than traditional HDD.
○ Shock resistance
The traditional hard disk has a high speed magnetic pin inside. Therefore, it is easy to damage the mechanical part with huge vibration. On the other hand, the SSD restore all the data to solid chip and has excellent shock resistance.
○ Power consumption
Solid state drive has low power consumption and very low power on standby mode.
○ Noise
The solid state drive basically does not have any sound during operation. But the traditional hard disk generate mechanical noise when disk rotation and vibration
○ Thermal solution
HDD generates less heat than SDD. Even after running for a period of time. We won’t feel any high temperature on its surface.
Storage device is not found in BIOS
Solid state drive might be the first choice for upgrading the storage. However, what should we do if the device cannot be detected?
Check if the storage is installed successfully
● For traditional HDD, please check the SATA cable and the power supply cable are connected correctly.
● Please take off the storage and reinstall it again. If necessary, please also put on all screws to make sure the abnormal vibration will not happen.
● Connect the storage to other SATA or PCIe slot.
● Do the cross test with another storage.

Download & Update latest BIOS
● Download latest BIOS from MSI official website
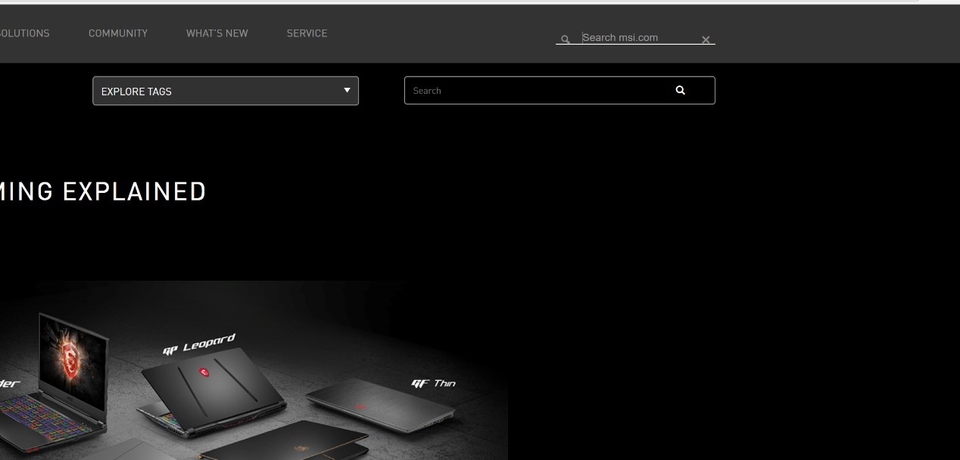
1. Go MSI official website and click the Search icon

2. Type the market name and press [Enter] key to search.
e.g. Trident X Plus 9th

3. Find [Trident X Plus 9th] and choose [Download].

4. Find the BIOS file and click the right red arrow to start downloading.

● Please follow the steps user to update latest BIOS by M-Flash
○ Prepare:USB Flash (The Format must be FAT32/NTFS) and BIOS ROM file
○ Format the USB flash to FAT32/NTFS
(Warning): Format the USB flash will wipe out all personal data. Please backup your own file before starting the process.
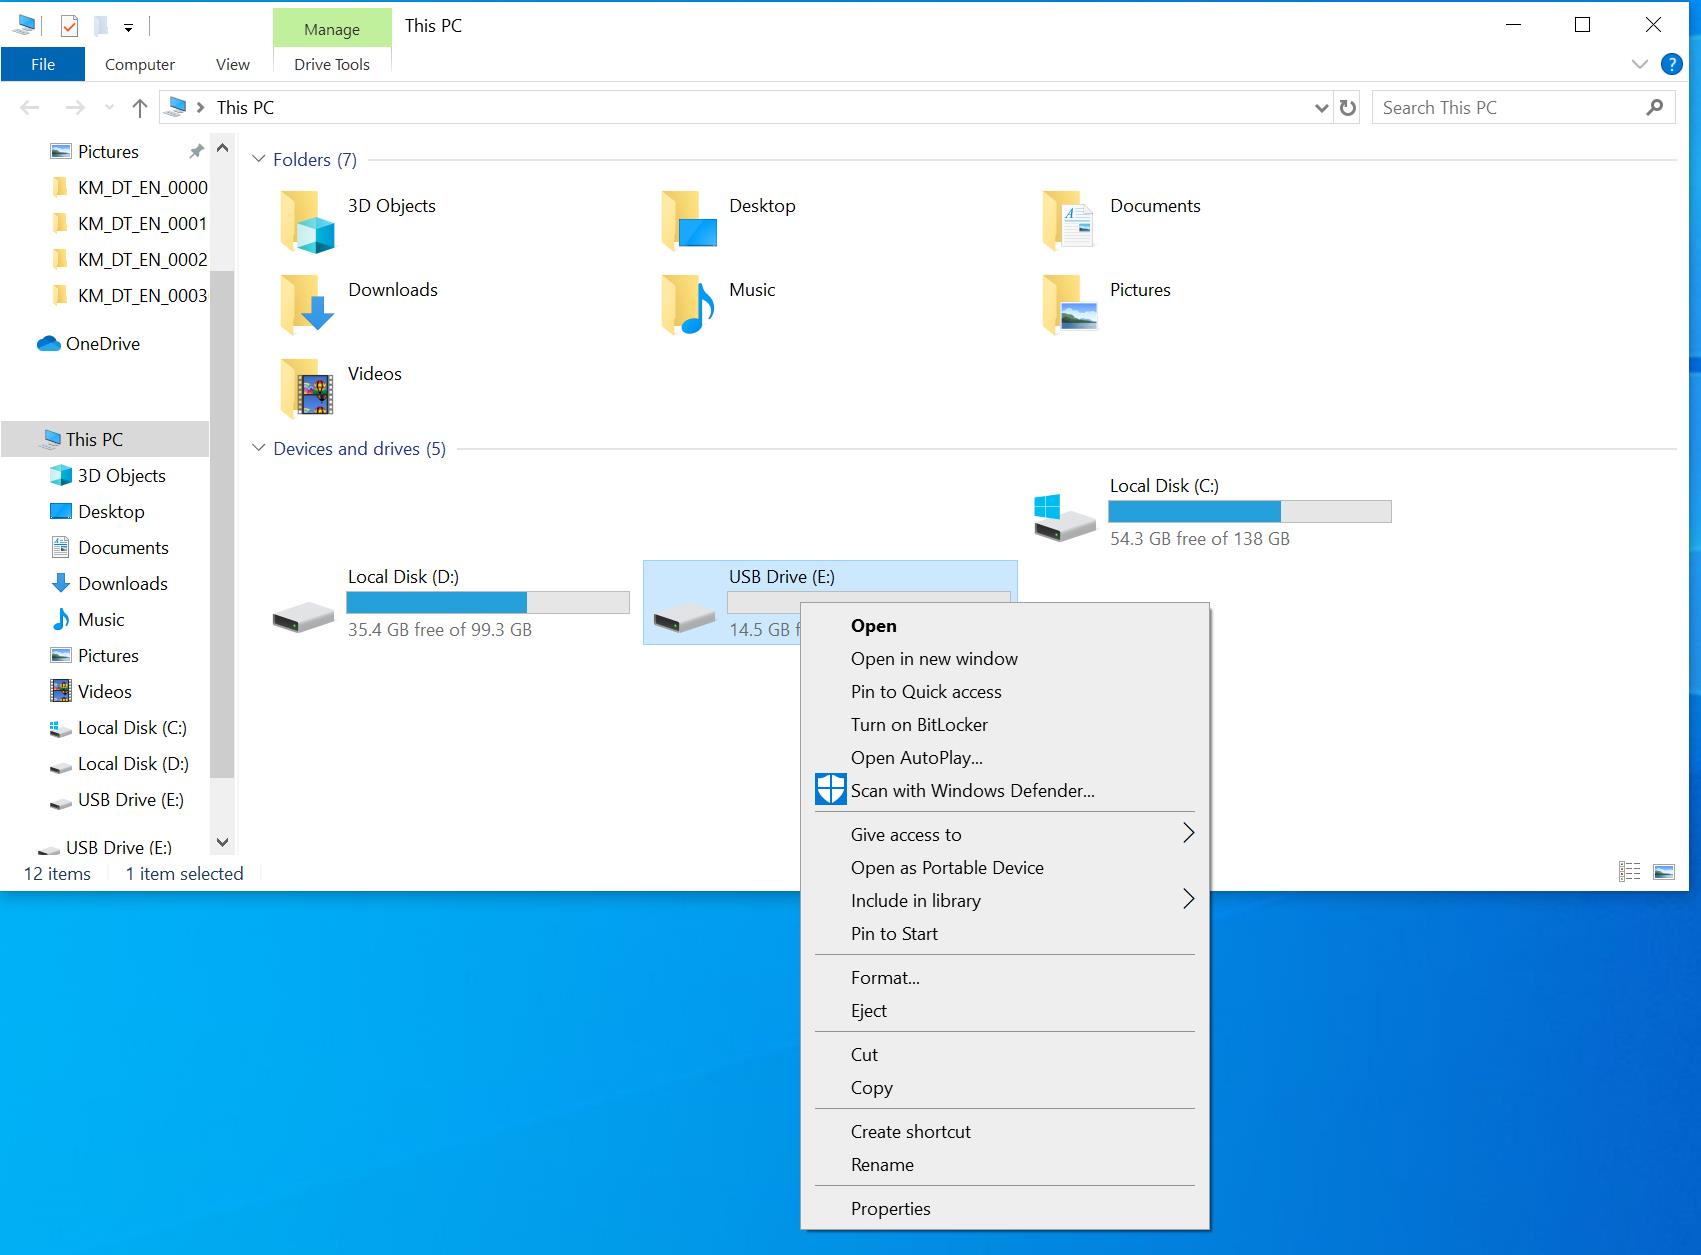
1. Insert the USB flash and right click on the USB flash. Then, select “Format”.

2. Select File system to [FAT32/NTFS] and click [Start].p>

3. Unzip the download BIOS file.

4. Copy the folder to USB flash.
e.g. Copy the "EB926IMS.B30" file to the USB flash drive directory. Please do not locate it under any other folder to avoid BIOS ROM detection failed.


5. Power on the device and press the [Delete] button to enter the BIOS interface. Then, select [M-FLASH].

6. Select [Yes] to launch the flash mode.

7. Select the USB flash drive which we made and click on the BIOS file folder.
e.g. Select the "EB926IMS.B30" folder here.

8. Select [Yes] to update the BIOS.

(Warning): Do NOT power off during BIOS update and do NOT remove the USB flash drive.
9. When the progress bar reaches 100%, the computer will restart automatically. The BIOS update process is completed. Please check the storage again in BIOS.

Hardware Compatibility
● Unknown storage devices might have hardware compatibility trouble, especially for M.2 SSD. For the reason, MSI recommend checking the suggestion list before purchasing the storage.
● Please refer to SSD upgrade instructions


