


How to set up & troubleshoot in SteelSeries.
In Steelseries GameSense, RGB LED light is not just fancy light, it helps the way you play video games. By synchronizing in-game activities, it can display the important details of the in-game LED effects. So that you can capture the games and important details within a blink.
- SteelSeries Engine Install Instructions
- SteelSeries Engine Operating Instructions
- HP&Ammunition settings in Shooter game
SteelSeries Engine Install Instructions :
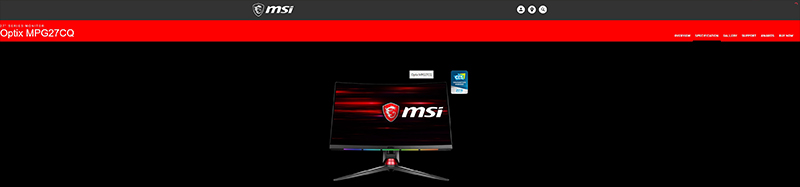
Let’s take Optix MPG27CQ as an example in this article.
1. Go to “MSI official website”, click “search icon” → Type down the model name → Hit “Enter” or click “Search icon” on the left.

2. Click “Support”
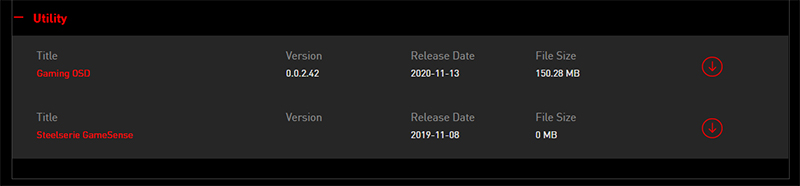
3. Click “Utility” → Select “Operating system”
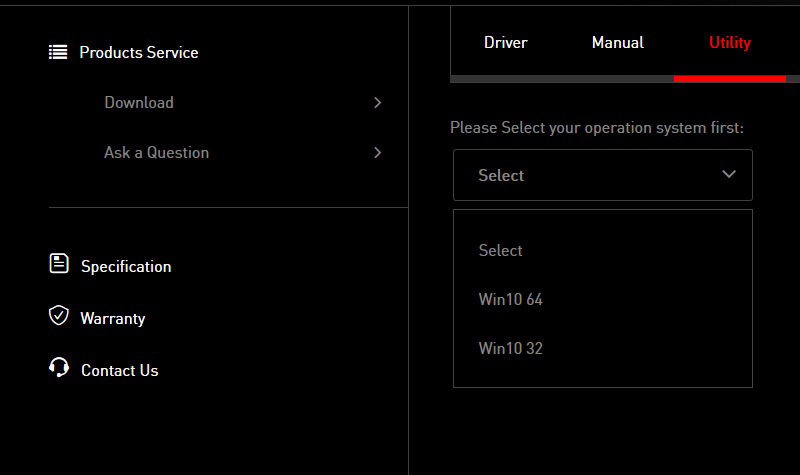
4. Find “Steelseries GameSense” and click the download icon on the right.
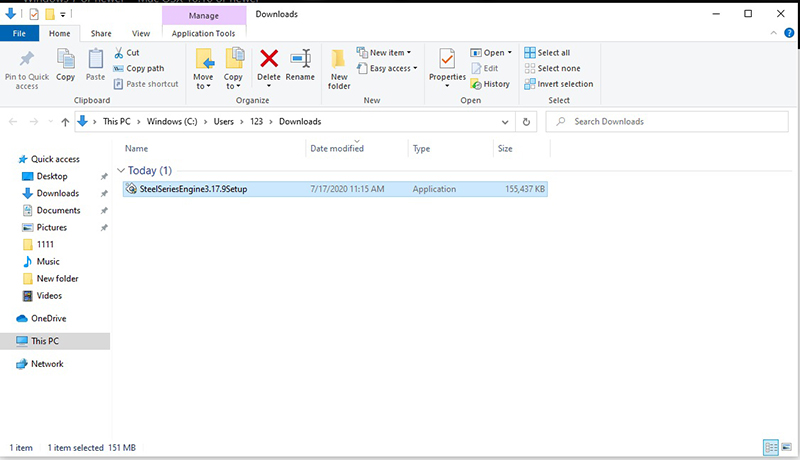
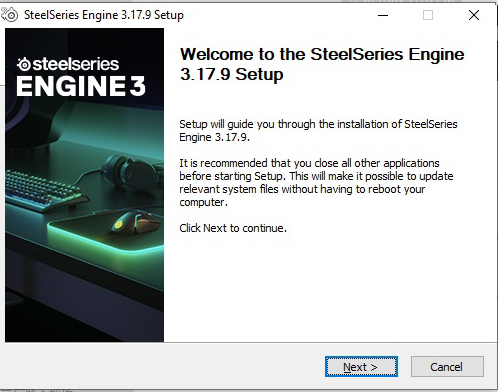
5. After the installation, open up the file and click “Steelseries GameSense Setup”
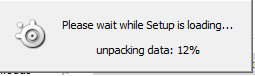
6. Processing, please wait.
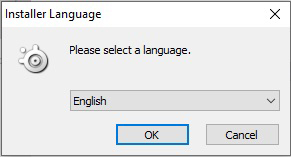
7. Click “OK” and select a language.
8. Click “Next”
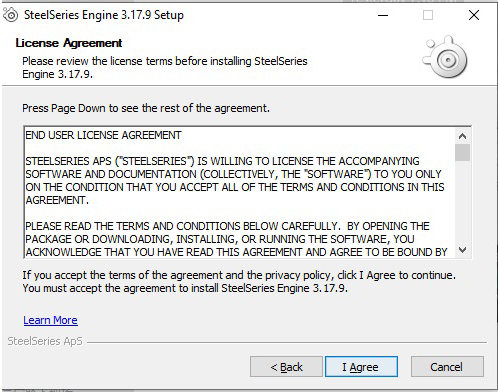
9. Click “I agree”
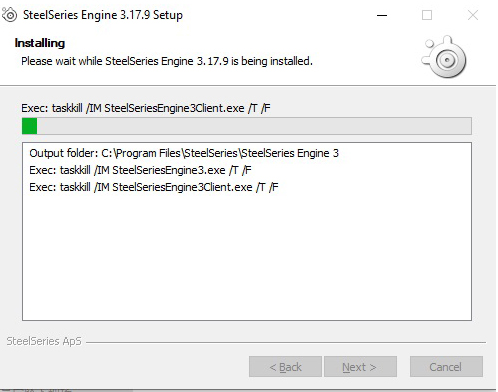
10. Processing the installation, please wait.
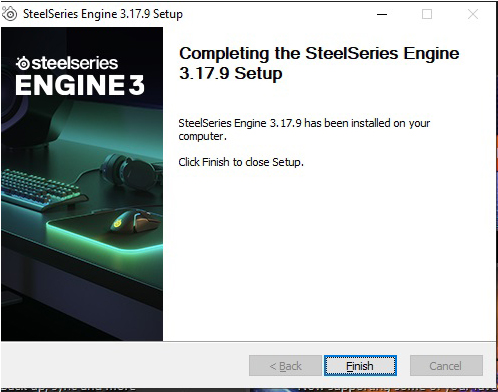
11. Click “Finish”, after complete the installation.
SteelSeries Engine Operating Instructions :
Please plug in the USB device that comes with the monitor then open up “SteelSeries Engine”. The monitor will show up on GEAR when opening up the software.

How to use GEAR
GEAR will detect connected device(The device that supports SteelSeries including monitor, keyboard, headset), click the device to get to setting page.
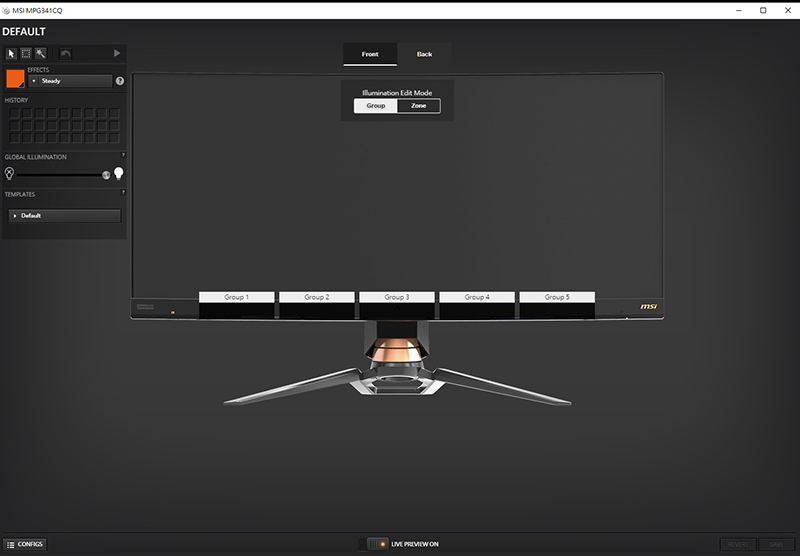
LED settings: Select, Group Select, Undo, Magic Wand, Paintbrush, Paint bucket, Eraser, Effect Picker.
Effects settings: Steady, Colorshift, Multi Color Breathe, Reactive Key, Cooldown Timer, Disable Illumination.
Save the changes after set up the device.

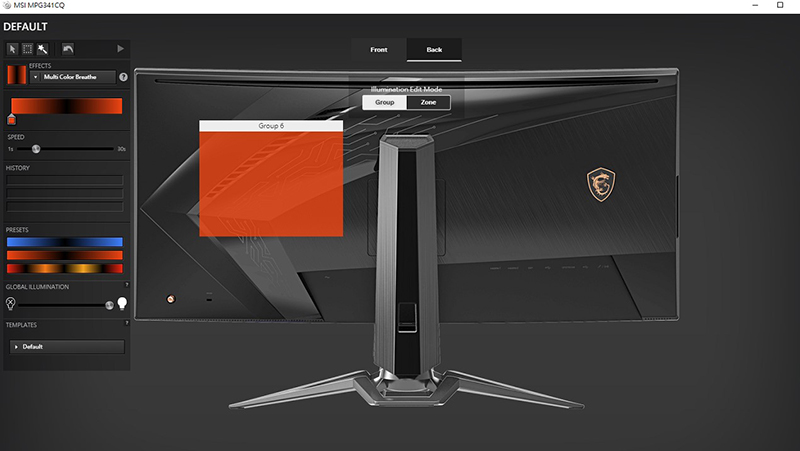
Click “Back” to adjust lighting at the back side of the monitor
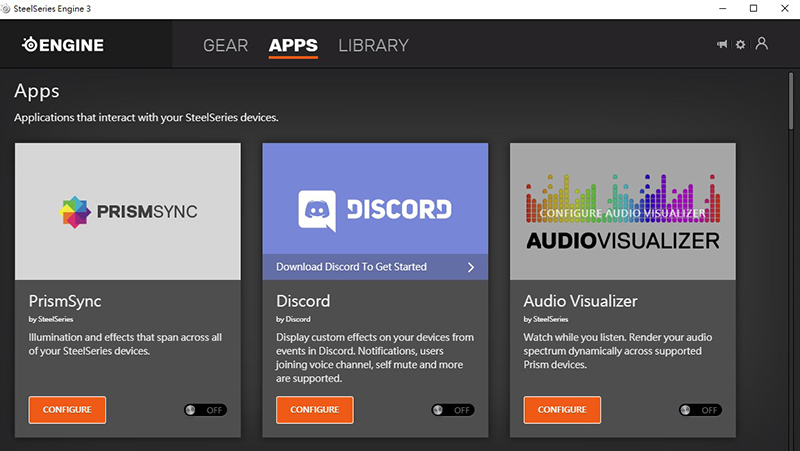
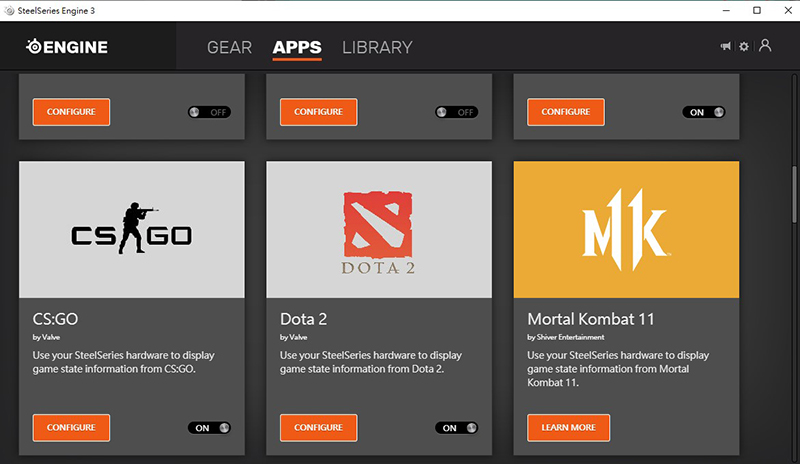
How to use APP
Games that supports SteelSeries Engine3 : PRISMSYNC、DISCORD、AUDIO、VISUALIZER、IMAGESYNC、CS GO、DOTA2、Giantic、Minecraft mod、Utopia 9、iFeelPixel, etc. According to APP’s design, its function page will be different based on games or applications. The game will automatically start when it turned on.
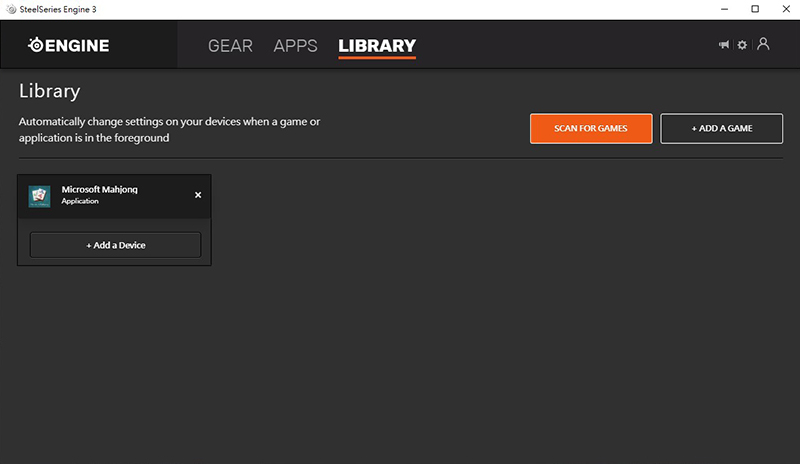
How to use LIBRARY
When custom a game or a program, it will automatically apply the effect settings when starting the program. This is like a function called “App Link” in Gaming OSD when you add a game in LIBRARY.
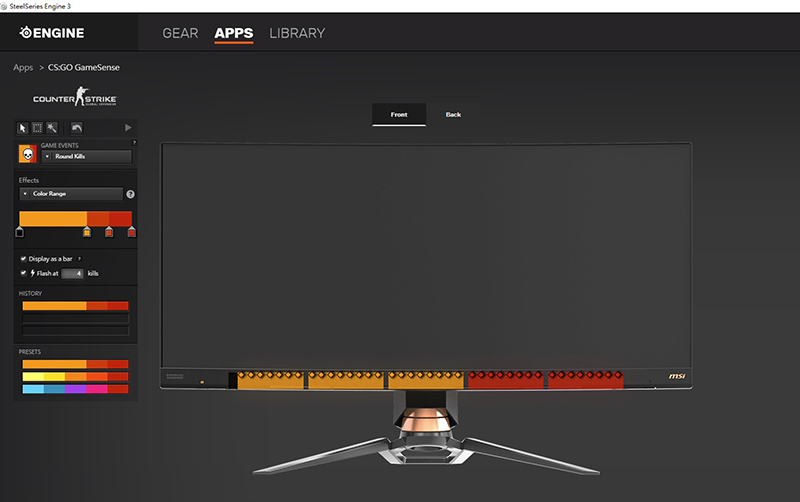
HP&Ammunition settings in Shooter game
1. Choose a shooter games in APP. We take CSGO as an example.
2. Click the icon to get into the setting page
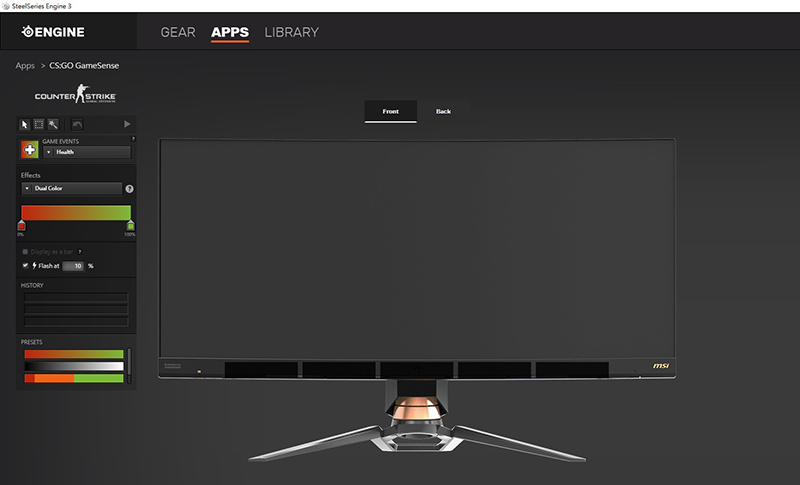
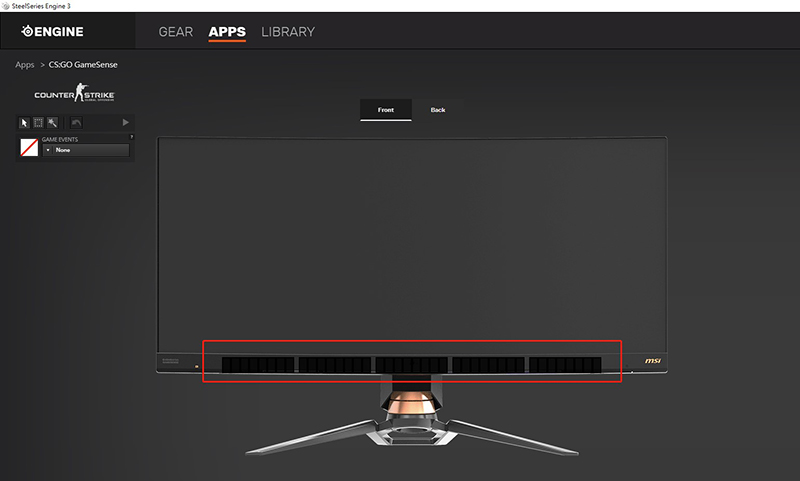
3. Use your mouse to select a LED interface to set up.
4. Click the drop-down menu of “Game Events” and it will show the basic settings of the game.
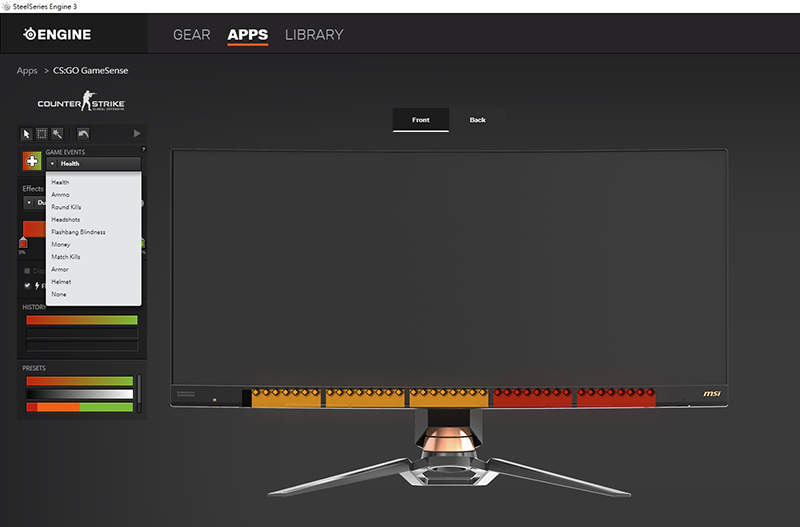
5. Set up the HP, ammunition and other cool settings according to your preference.
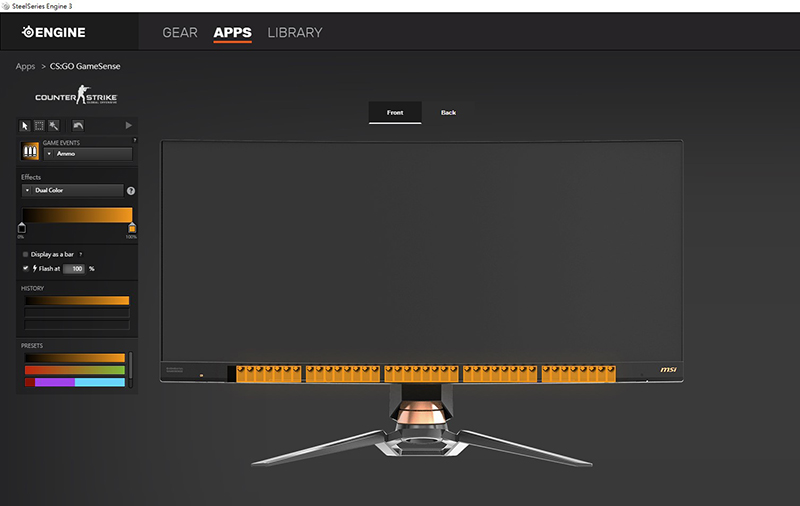
6. Let’s take the HP as an example, when we select the LED area, the HP will start from 0%. If you select the LED bar from the bottom left to the right, then its lighting display will start from 100%====0%.